Simple HTML form validation with PHP (a step-by-step guide)

Hi, I'm Abdulbaki Suraj, a backend developer with a knack for understanding how stuff really works. I have a background in mechanical engineering, and somewhere along the way, I fell in love with programming. I'm the kind of person who enjoys digging into the nitty-gritty details and explaining complex things in simple terms. When I'm not coding, you'll find me trying out gymnastics and calisthenics. Join me on my journey of sharing how-tos, guides, and occasional thoughts.
In this tutorial, I'll be showing you how to perform a simple HTML form processing/validation using PHP. For the tutorial, we will build a simple user form that request for their full name and displays a welcome text after the user has entered their details in the html form and submitted.
Let's get started!
1) Setting up your environment
If you already have your test environment ready, you can skip this step and jump to creating the file.
For us to be able to properly view and test our application, we need to have some tools in place:
A browser (I will be using [Google Chrome Browser](https://www.google.com/chrome)): Any browser will do.
A text editor (I am using [Sublime Text 3](https://www.sublimetext.com/3)): This is to create, edit and save our code.
A local web server installed (I use [XAMPP](https://www.apachefriends.org/download.html) on windows 10): To simulate an http-server on your computer.
In case you run into some trouble setting up XAMPP, you can check out this tutorial.
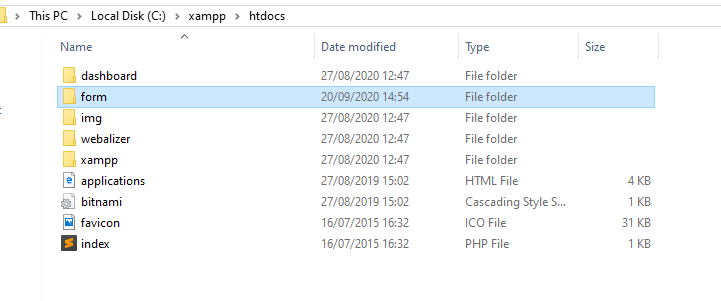
After all that is done, the next thing for you to do is to go into the "htdocs folder inside your XAMPP installation directory (mine is - C:\xampp\htdocs) and create a new folder (I'll name mine "form"). You can name it anything you want.
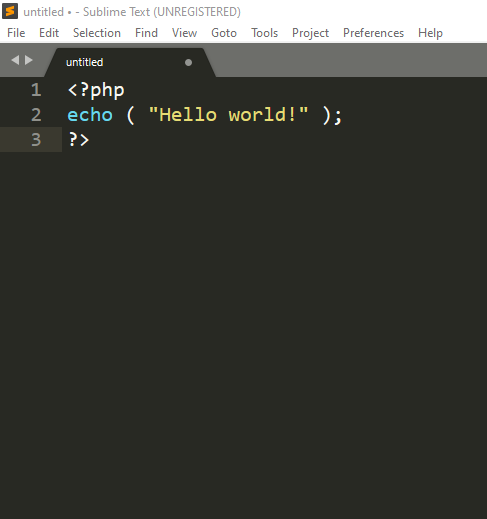
Next, open Sublime Text 3 and create a new file (ctrl + n).
Copy and paste the following code into it
<?php
echo ( "Hello world!" );
?>
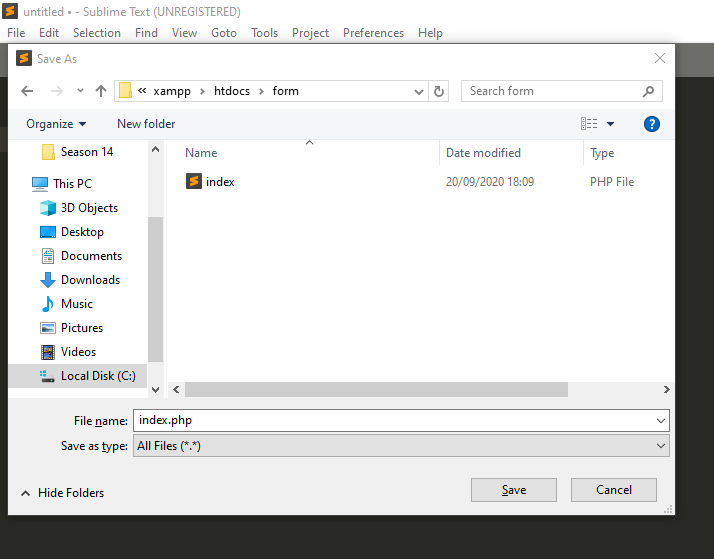
Then save it as index.php inside the folder you created.
Next step after ensuring the XAMPP server is running is to go to your browser and type this into the URL bar http://localhost/name_of_your_folder. Your browser screen should look something like this.
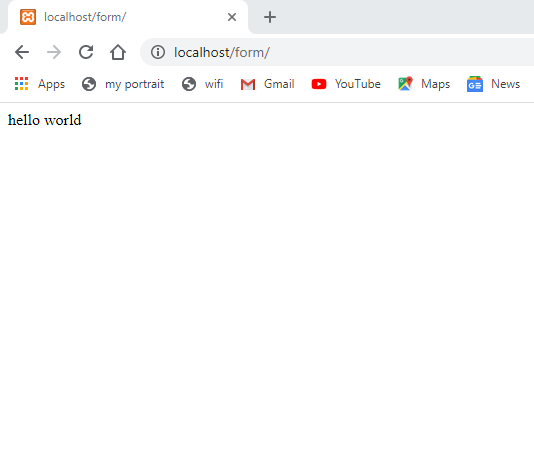
If all goes well, you can proceed to the next step.
2) Writing the HTML for the form
In your index.php file, clear any previous code there and copy and paste the following into it.
<?php
/*php main code goes here*/
?>
<!DOCTYPE html>
<html lang="en">
<head>
    <title>My Form</title>
</head>
<body>
    <h2>My form</h2>
    <form method="post">
        <?php
        /* php error and display code goes here */
        ?>
        Name:
        <input type="text" name="username"><br><br>
        <input type="submit" name="submit_form" value="SUBMIT">
    </form>
</body>
</html>
This is just a simple html form with an input field and a submit button. After this is added, save (ctrl + s) again on the text editor and reload the page on the browser.
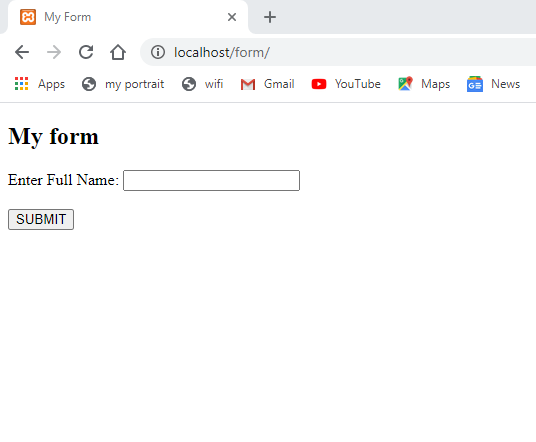
Cool, now we have our form, but typing stuffs into the box and clicking the submit button won't do anything.
Alright, let's move on to the real deal and probably what brought you here in the first place - creating a few lines of PHP 🐘 code.
3) Writing the PHP test cases
Note that in the HTML form earlier, our method attribute was "post" <form method="post">, this is how the data entered by the user is transferred to the server and we shall be making using of $_POST['name_in_form'] function to retrieve our data. Here are some of the conditions we are going to be checking for:
check if the user submitted an empty field - this will be checked using the [empty(str) function](https://www.w3schools.com/php/func_var_empty.asp),
check if the user submitted a numeric value - this will be checked using the [is_numeric(str) function](https://www.w3schools.com/php/func_var_is_numeric.asp),
check if the number of words submitted is less than 2 so as to ensure the user submits at least a first and a last name - this will be checked using the [str_word_count(str) function](https://www.w3schools.com/php/func_string_str_word_count.asp).
Copy and paste the following code just below the line where you have /* php main code goes here */:
if ( isset( $_POST['submit_form']))
{
//create a variable to store the display message
$display = '';
//assign the value of $_POST['username'] to $full_name variable
$full_name = $_POST['username'];
//check if there is no data in the variable
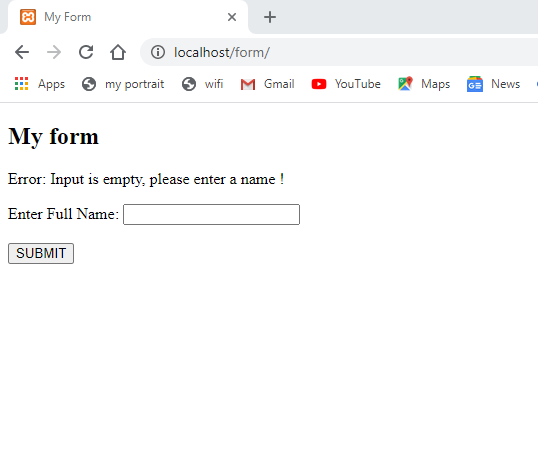
if ( empty($full_name))
{
$display = "Error: Input is empty, please enter a name !";
}
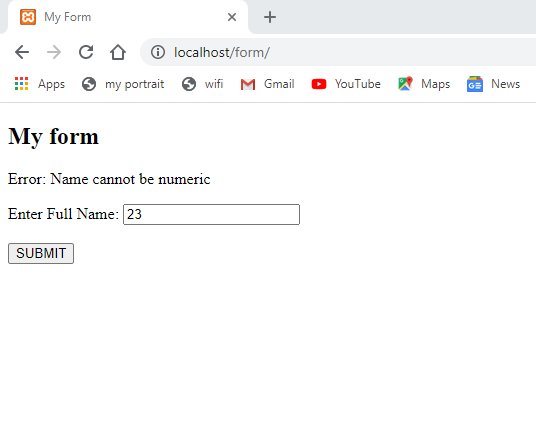
//check if the data is a number
else if ( is_numeric($full_name) )
{
$display = "Error: Name cannot be numeric";
}
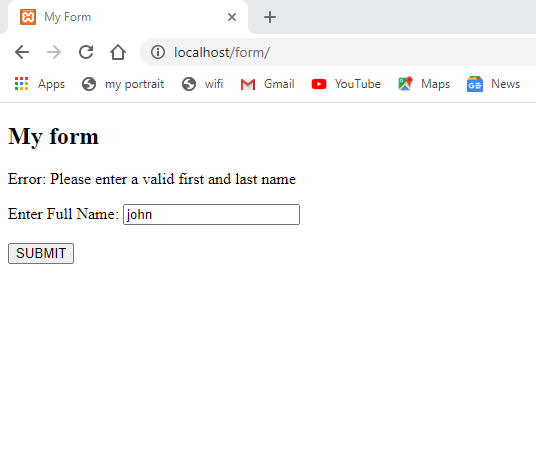
//check if the number of words is not less than two
else if( str_word_count($full_name) <= 1)
{
$display = "Error: Please enter a valid first and last name";
}
//if all the above conditions are false
else
{
$display = "Hey ".htmlentities($full_name).", you are awesome :)";
}
}
I added a lot of commenting in the code in other to make it self-explanatory.
And also copy the following code just below the line where you have /* php error and display code goes here */
//display the variable if a value has been set
if ( isset($display))
{
    echo "$display";
}
The above code allows us to visually see the errors they encounter during the validation process.
To avoid PHP errors from disrupting the screen, the isset($display) condition is used to ensure the variable is set (that is, a value has been passed into it) before there is any reason to display anything.
Below are screenshots of the application displaying the errors.
And here's a bonus 😉 screenshot of me entering correct values.
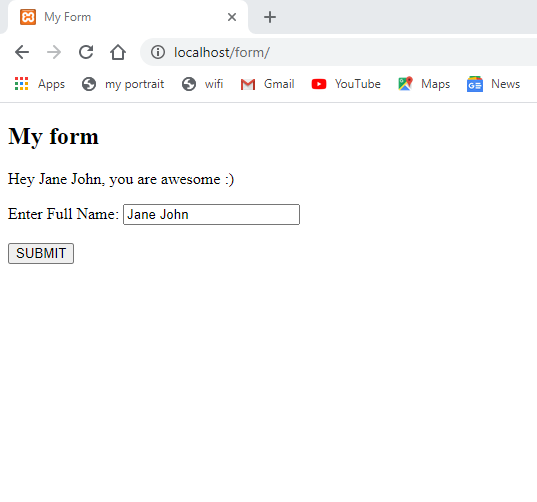
Thank you for following me till the end of the tutorial and I hope you have learned something new too.